
Imagine this – You wanted to play your favorite games on your PC. You were super excited about exploring the virtual and magical world. But, when you plugged in your USB controller in your Windows 10 PC, you realized something is wrong.
We understand this is your nightmare come true but don’t panic yet. You are not the only one who has had a hard time using a USB controller on a Windows 10 PC. However, like many things in life, there’s a solution to this difficulty, and we are here to present it to you!
How to Use USB Controller on PC Windows 10?
Connect your USB controller
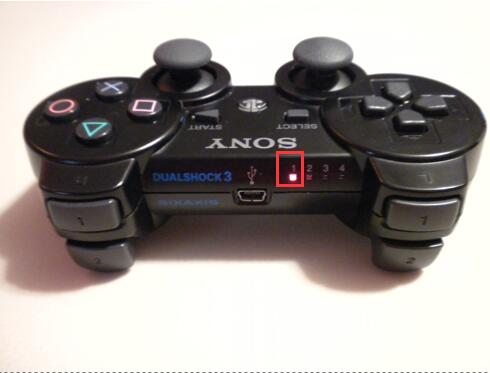 Before you start doing anything, make sure you connect your controller to your PC. You just have to plug it in as usual.
Search your Settings
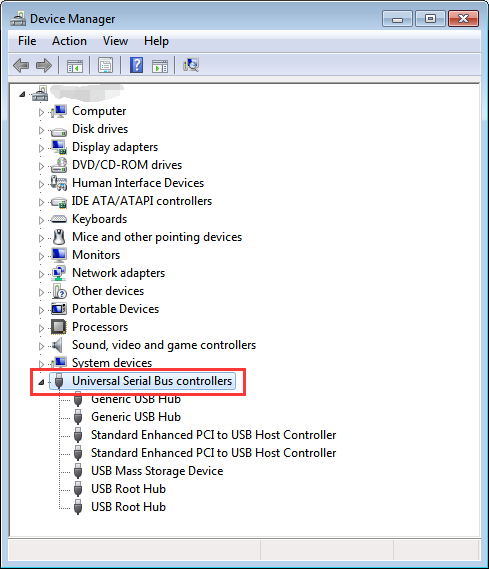
Now, your actual journey starts! It is from the Settings of your PC. Navigate to it through the Start Menu. Here, you will find Devices. Under Devices, go to Printer and Scanners.
In the end, you will see Devices and Printers under Related Settings. It will look like a link and not a button. It is usually blue in color. Click on it.
Edit the controller settings
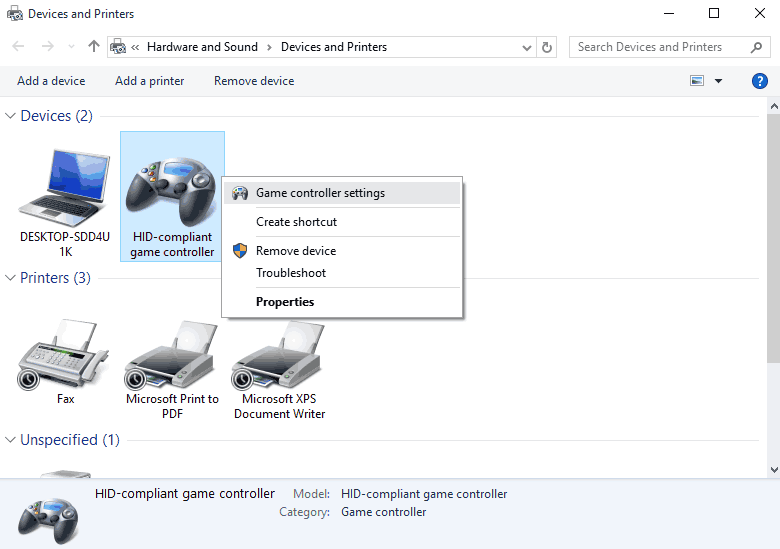
When you open Devices and Printers, you will see the icon of your controller there. Right-click on it and click on Game Controller Settings. Choose Properties, go to Settings, and click on Calibrate.
NOTE: If you do not see the icon, try connecting your USB controller again. If the problem persists, check the controller’s drivers. Install the latest ones and ensure that they are updated.
Start the calibration
You don’t need to do much here. The Calibration Wizard will take over and go through the steps by itself. If you get prompts for any action, read the prompt and take a call. We cannot go into the specifics here because the prompts will depend on the type of controller you are trying to connect.
Remember, you will need to move and press the buttons as and when asked for so that the calibration is perfect. So, keep your controller ready and do not let your mind wander to other things during this step.
Test your controller
Once you get a notification that the calibration is done, make sure you test your controller. Sometimes, it may not happen properly, or some errors might arise. So, it is best to do a test run before using the controller. In Properties itself, on top, beside Settings, you will see a Test option for this. Click on it.
Start making movements and pressing buttons on your controller. The PC will identify the movements, and this will reflect on the screen as well. See the feedback mechanism and ensure that you are comfortable with the responses.
If everything is fine, you can start playing immediately!
It may be time-consuming, but you need to learn how to configure your game controller to Windows 10. Otherwise, every game you play will frustrate you, and you will end up wasting money on a new controller. This is a one-time exercise that will save you a lot of hassle. Trust us!
If you have any doubts or concerns, please feel free to Comment, and we will be happy to help you out.